PUSHES
Upper Body Push Progressions
Pushes (or push ups) are another class of movements that focus on your upper body, particularly your arm muscles, and to a lesser extent your shoulder, back and core muscles.
Most pushes in calisthenics (body weight work) are based around the flat push up. If you’re comfortable doing great push ups, hands under your chest, up down – fantastic. If not, here are some ways to get going.
Wall Push Up
If the cobra feels too challenging for your shoulders right now, totally fine. See how the wall Push up feels.

Outline
Among the easiest push up variants, the wall push up keeps your body mostly vertical, so your centre of gravity is always close to your movement. This is the a great place to start.
Movement Description
Stand facing a wall, leaning forward slightly, arms fully extended about chest height and shoulder width apart. Relax your arms to enter resting position, then push against the wall until fully extended until relaxing again to complete your rep.
Progressions -> Getting to the Full Push Up
The progression is lowering yourself progressively till your body is parallel to the floor.
For example, from a desk

or from between two chairs

Outline
Somewhere between a Wall Push Up and Flat Push Up in difficulty. This is a good intermediate movement.
Now some folks will try to do push ups off the floor on their knees, but let me discourage you from that, ok? Use the levels so that you’re always working the front of your body – not just your shoulders – as you develop strength
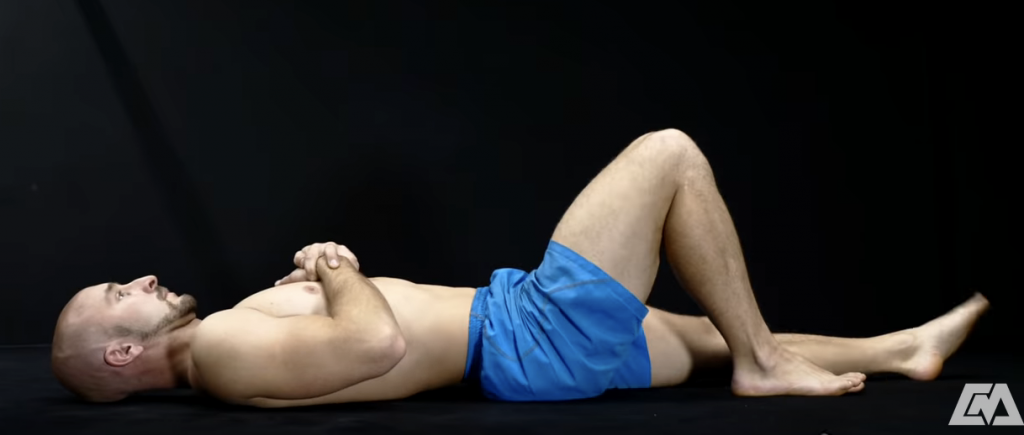
Cobra Push Up
If push ups aren’t yet your happy place – and even if they are – see how your shoulders feel doing this movement from Yoga, called the Cobra.
Outline
A push up variant that places more emphasis on your core. Relatively easy compared to other variants because you won’t be using your full body weight.
Movement Outline
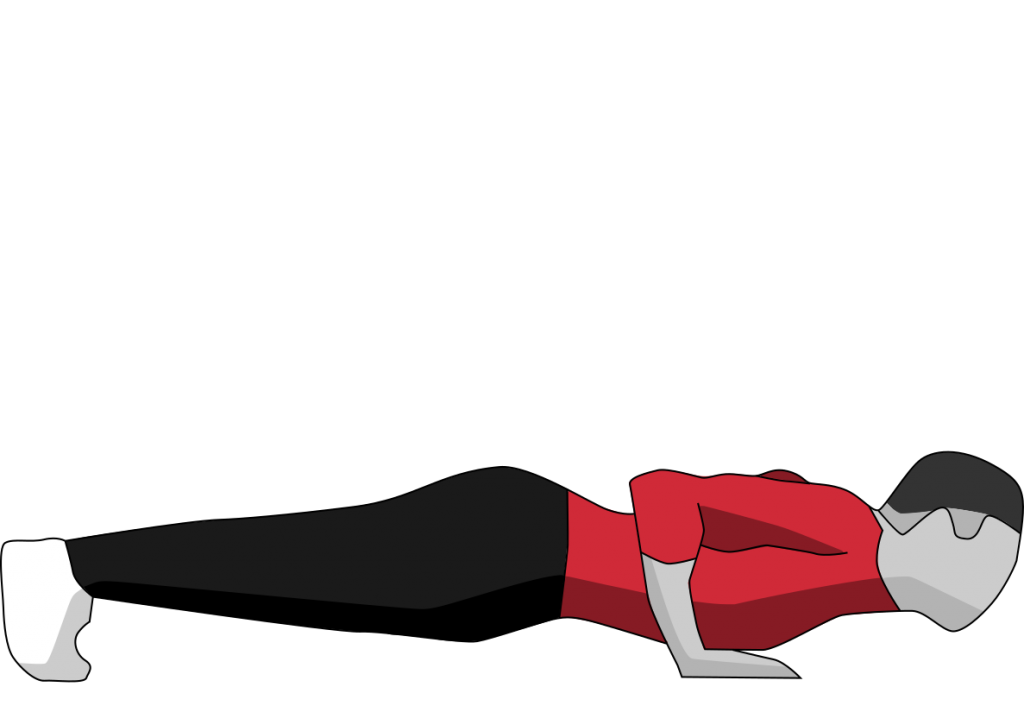
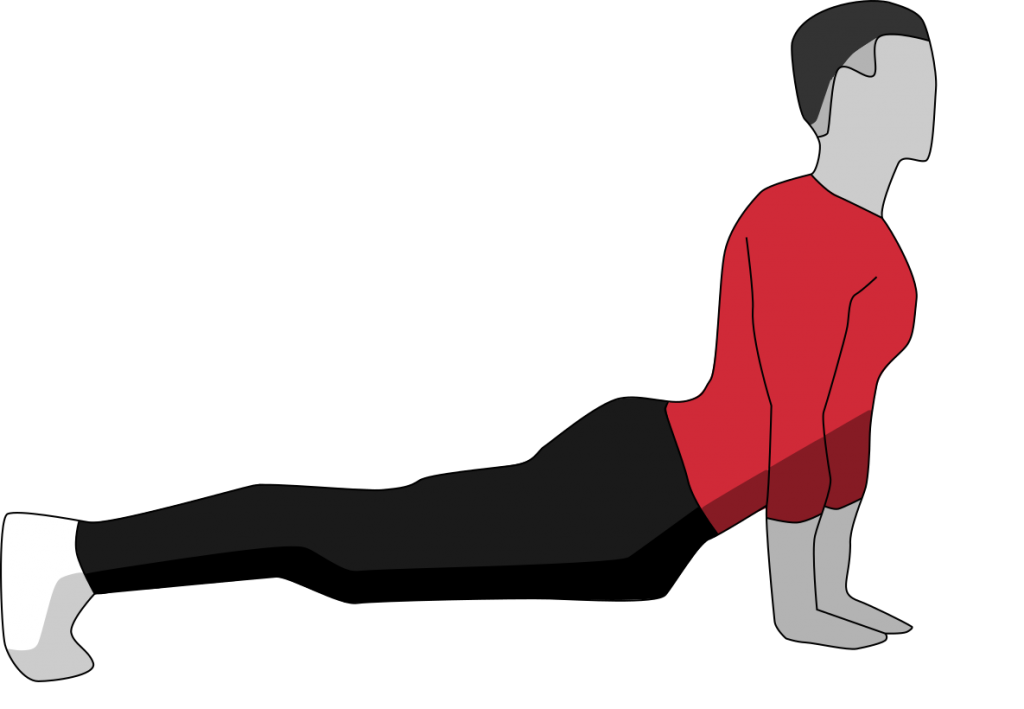
Lay on the floor belly first, elbows back fairly tight against the body, hands flat below the shoulders. Keeping your body below your hips flat on the floor, drive your entire upper body upwards, engaging your core and fully extending your arms.
If the Cobra Feels ok, you can move right along to check out the Hindu Push up
Hindu Push Up – with movement
You’ll notice in the Hindu Push up that it MOVES – there’s a nice flow from a kind of what in Yoga is a downward dog position (an inverted V) into the cobra. See how that feels doing 10 in a row of these as an option for one of the blocks.
If this combo move is too effortful to get a comfy 10, then let’s look at the flat push up progressions
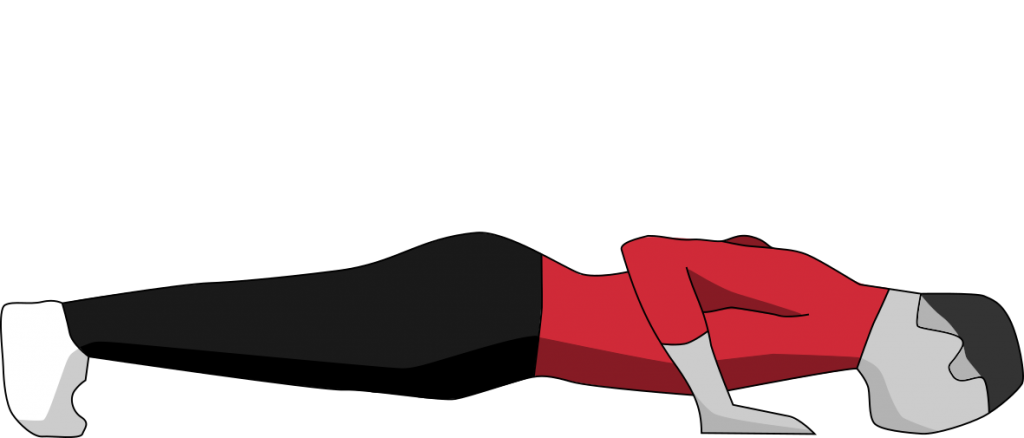
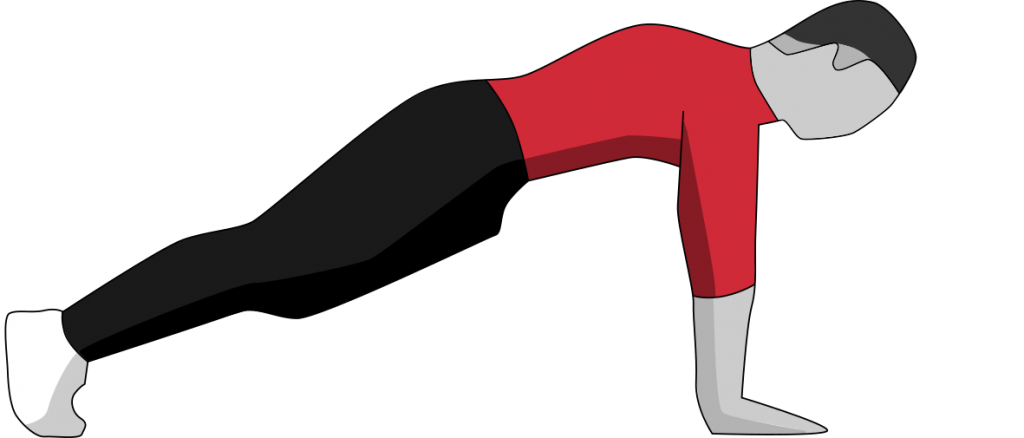
Flat Push Up
And we’ve arrived. The one and only, perfect push up
Outline
ARMS: Line up your hands so they’re directly beside your chest.
Think about keeping your elbows pretty much above your wrist for the whole movement – that will help you find your position – you can even take video to see how you manage your elbow position – and it will feel really different based on that alignment.
Thus, when you’re lowering yourself from this top position, your elbows are NOT going back; you are effectively coming forward. Try it! see how that feels.
HANDS: open your fingers – you may find turning your wrists out a little feels better – that’s fine
BACK: we call this neutral – think about your butt – that the butt and back stay at the same location – avoid letting your butt drop like at all – if you have trouble keeping that butt up, elevate your body up on chairs or a bench or a step – that will make it easier to explore what that alignment and holding it through the movement feels like
Way harder (One Armed Push Up): Exactly the same as your normal push up, but you’ll place one hand behind your back. This requires a good deal of upper body strength, so don’t expect many reps early on in your journey.
Other Push Up Variants To Come…
These are more challenging variants thant we’re exploring right at the start, but some links included below for anybody already capable of flat push ups looking for the next step in progression.
Diamond push up (https://youtu.be/6HxtxoXRFG0?t=105)
Archer push up. (https://youtu.be/6HxtxoXRFG0?t=320)
Lion push up (https://youtu.be/OrAYwJ2UCyc)
Pike push up (https://youtu.be/m1W1BGpPGMo?t=343)
And speaking of the PIKE push up…this is great prep to go to a full bodyweight push – that we will just mention here.
SKILLS MOVE Handstand Push Ups – Wall allowed.
To be balanced – the complement of the full bodyweight pull, would be a full bodyweight push. Push ups are close but they’re not the complete inversion. To get to that place we need to go to handstand pushups – and to reduce the balance challenge, we can do these against a wall – with either the chest facing the wall or the back.
We are NOT including this as one of our moves to choose as being upside down requires more adaptation outside strength work – and strength is our focus – but here is a Future path just for interest
and a great example of one self-taught approach to a free standing handstand – which is an isometric, balance move
Other Pushes
Once you get your push ups going, another upper body push is built around the dip. Where the push up lets you keep your feet on the floor, so you’re not lifting your entire body, the dip takes you to full body weight work.
Dips
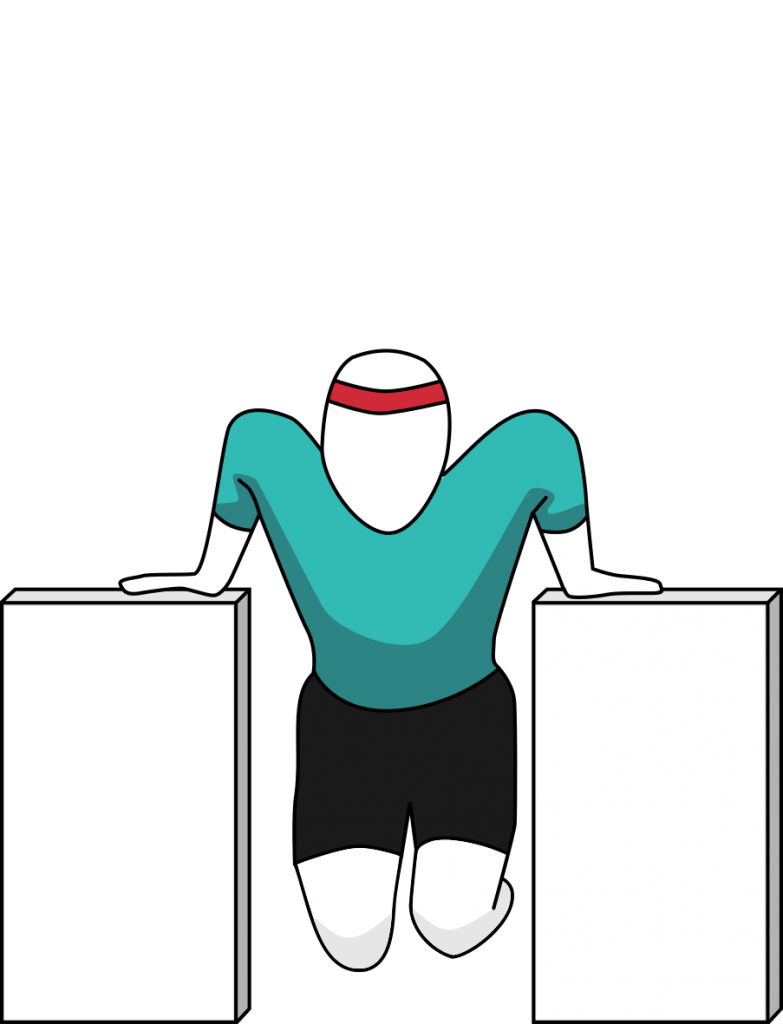
One way to work a Dip at home is between two chairs, two couches, two stools. The idea here is tuck your legs up in front of you or behind you and push up. Keep your hands inline with your hips.
Progressions: To build up your Dip,
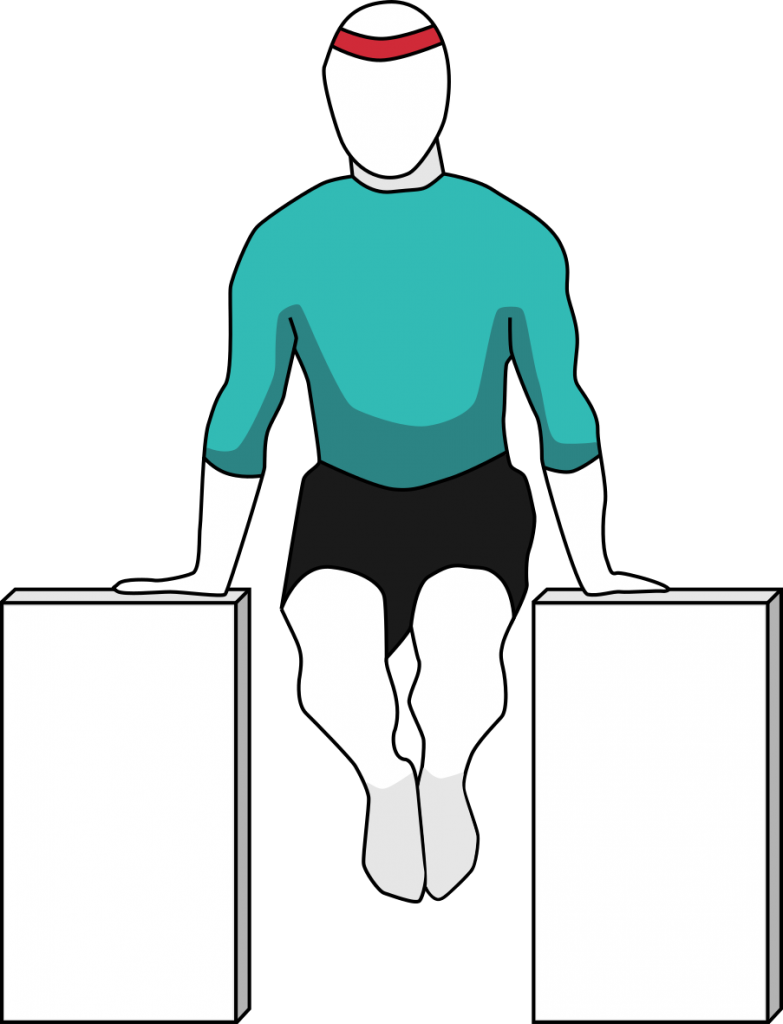
Situate yourself between two similar sized, flat objects. Make sure there’s enough room to clear your entire body on a dip. Rest one hand either side of you about level with your core (NOT behind you). Raise your legs off the ground (adds load) and push your body upwards through your arms until fully extended.
- Progression 1: put a foot down, and use as little help as you need to help your upper body lift you up, and also support you coming down.
- Progression 2: use your lower body to help you get to the top of the movement, and then come down into the start without that assist.
- Progrssion 3: ALTERNATING LEG POSITION: you can tuck your knees underneath you (as shown) or you can also tuck them in front and work on alternating one leg out straight, then the other – or working to both legs out front
- GEAR assist: Resistance Bands. It’s possible to loop a band between your hands and rest your knees on the band as you do the move.
Lower Body Pushes: Squat Variants
Just as the bodyweight pushes for the upper body are based around the push up, the lower body pushes are based around the squat. The bodyweight full squat – getting the back of the shins to the back of the thighs – is the queen of bodyweight squat movements. It’s the gold standard. Just like the push up there are all sorts of variants, this one is the foundational template.
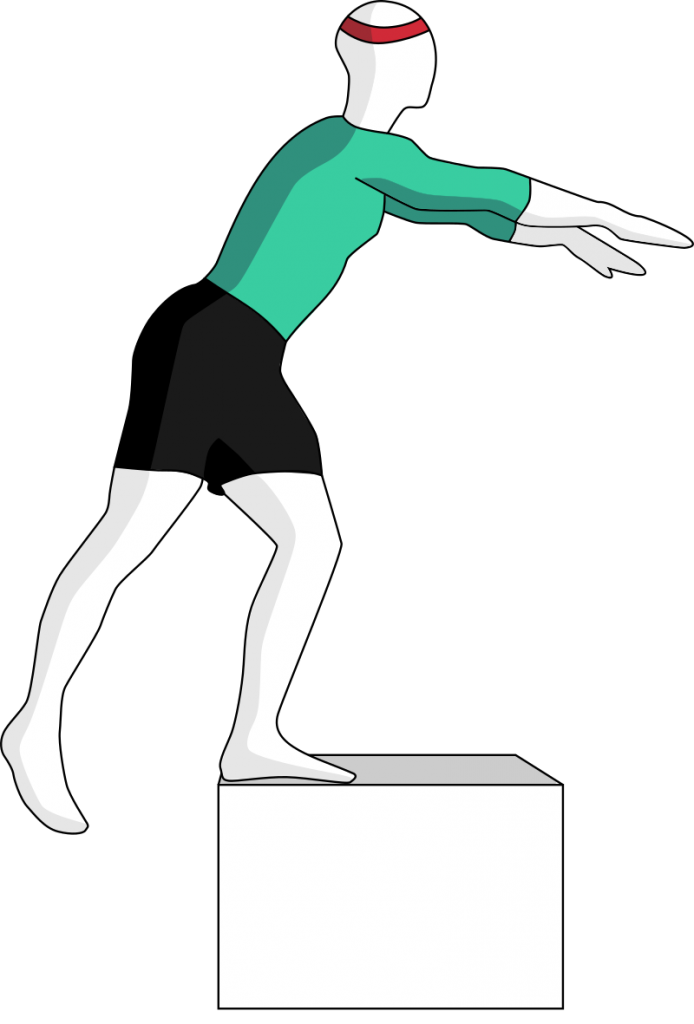
Box Squat – half way there
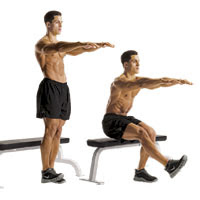
The Box squat is effectively what we do when we get up and down from a chair without using our hands on our knees or the arms of the chair. In this version however, you’re not ever sitting on the chair – you are aiming just to let your butt touch the edge of the chair or box and then to stand right back up again.
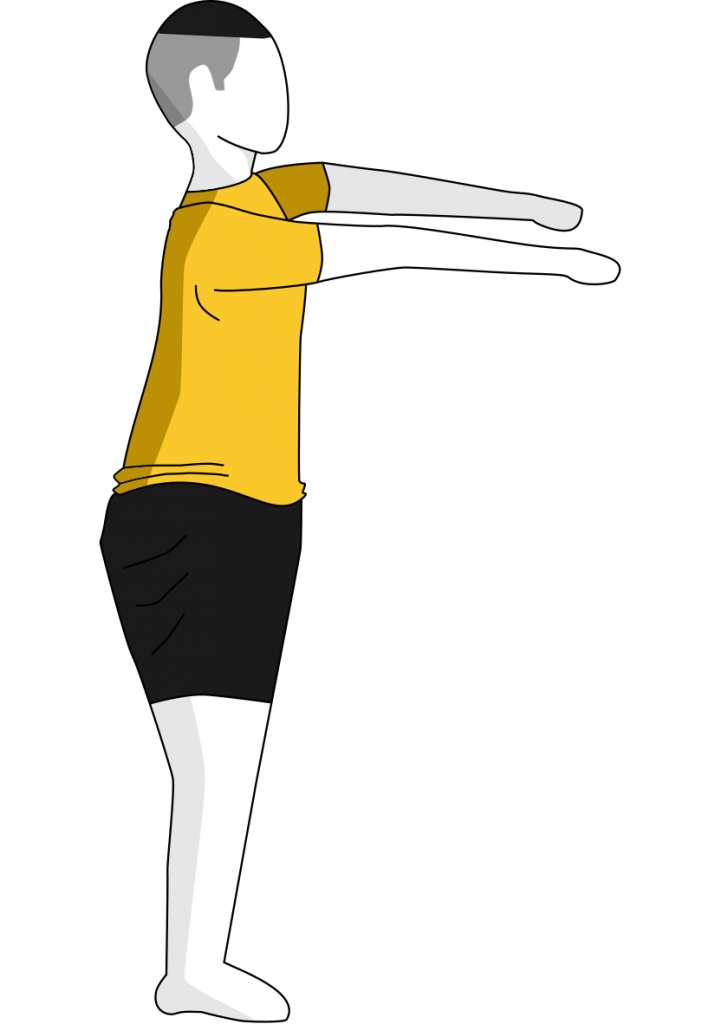
Find a sturdy box or chair. Facing away, extend your arms, feet spaced shoulder-width apart, push your bum outwards, and bring your body down and angled forwards until your bum just touches the chair.
Supported Squats – Full movement, Hanging on
This variation is particularly popular with men who swear they can’t do a full “ass to grass” squat, and who even in the gym with a big barbell, tend to stay with the box squat. We can help! Your mission, should you choose to accept it, is to HANG ONTO something – a banister, door jam, door handles, your partner graciously hanging onto your mitts – whatever and AS LONG AS THERE’S NO PAIN – get down there, and get on up out of there. And rep it that way.
Honestly, in some sessions with clients we’ve done this a half dozen times and that’s all it takes to do the full version. No kidding. We could go into a lot of detail about what’s happening there but for now – as long as you need a support to let you get down (that’s usually the most tricky bit) you’ll get back up.
PROGRESSIONS Keep using the support and practice using it less and less to get down and to get up. That’s it. It’s a magical thing. You will own that squat.
Inverted Squats: Shoulder stand squats.
Shoulder Stand Squats Another variant just to work the movement without as much load can be done from a shoulder stand – if you feel comfy with that. Get into your shoulder stand – have your hands on your back for support – that’s fine, and bring your legs down into a tuck, and then back up straight again.
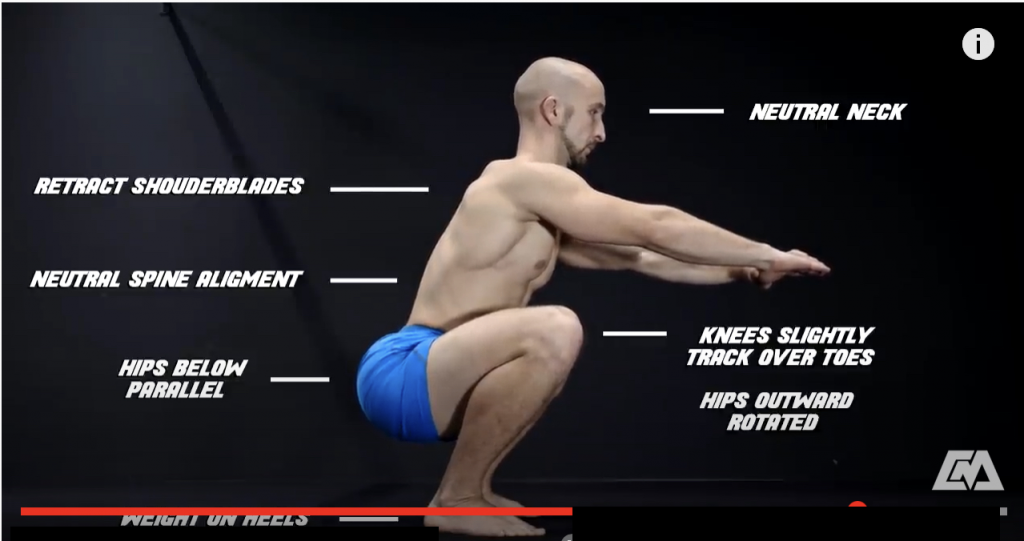
Full Squat

Outline
The Full Squat maximises your movement potential by bringing you bum as close to the ground as possible, making this a more challenging variant than other squats. Drive your hips forward for power.
Movement Description
The FOCUS in the squat is the top of the thighs. So, you lower and raise yourself with your back as vertically straight as possible (avoid leaning forward). Let your knees bend and move forward over your toes as you get the back of your thighs touching the back of your calves.
Then push up, again keep straight and feel your knees pushing back – and you pushing up through your butt.
Assistance: Use a door jam, banister, door handle to help you stand – as needed – to keep your focus and work coming from mainly the top of the legs .
Isolateral Lower Body Push
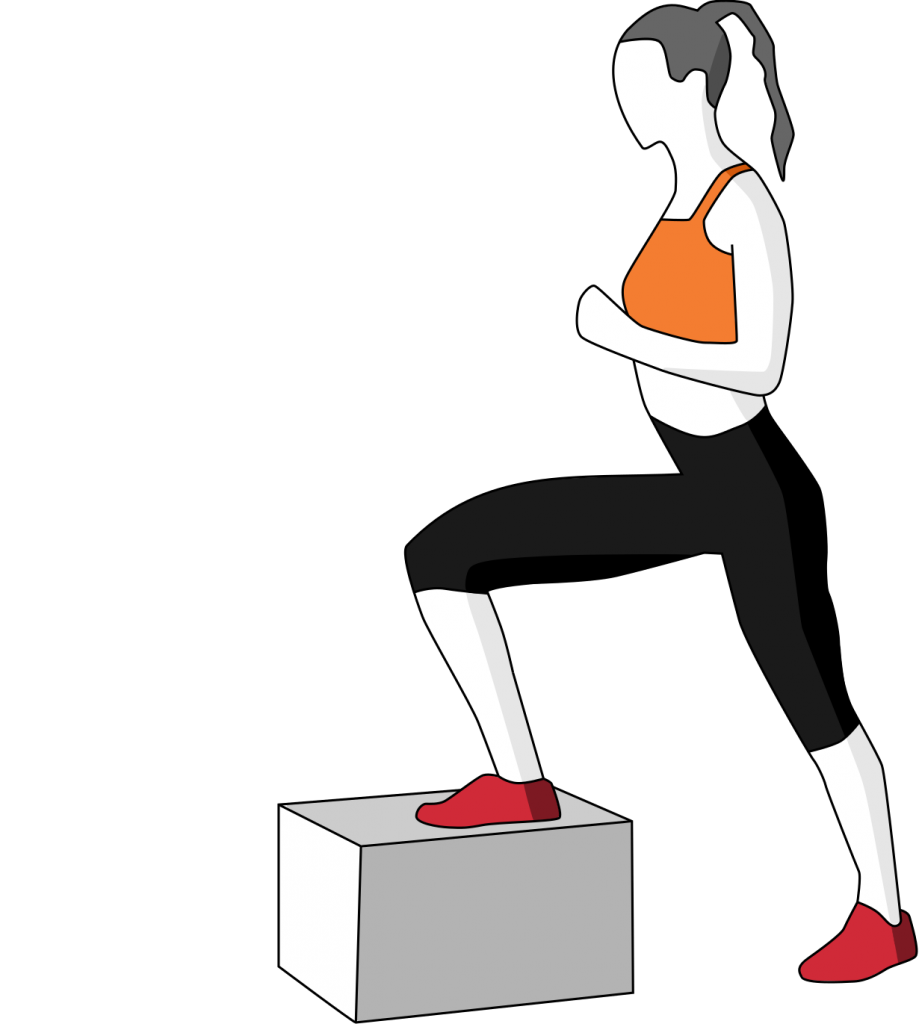
Step Ups
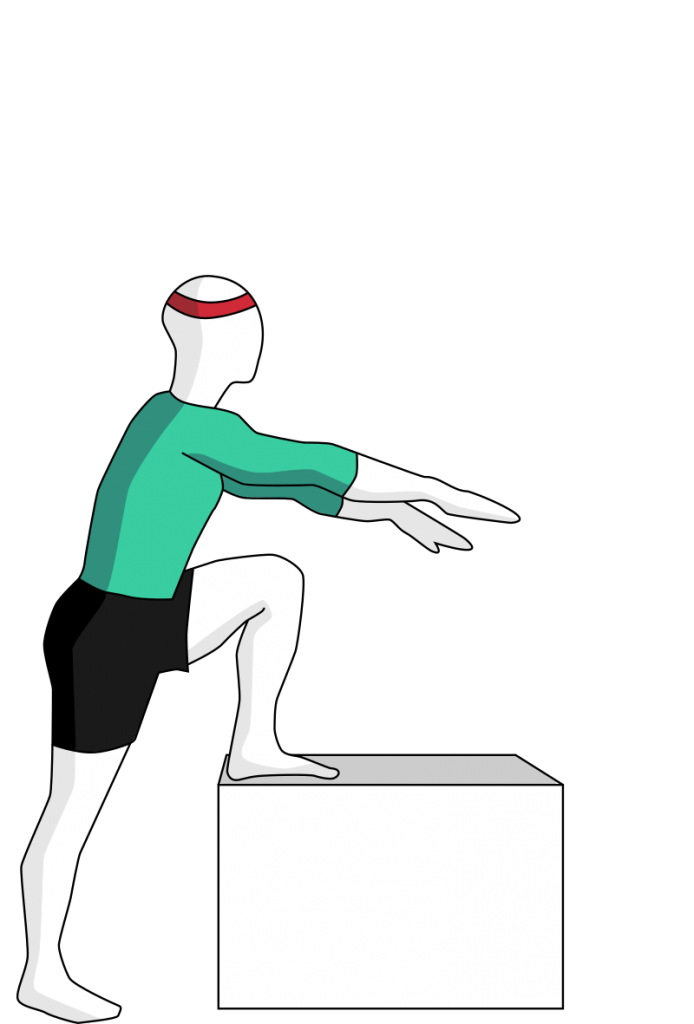
You can do these with stairs to get the hang of the movement, or with a low step stool, or box or with a stable chair.
The FOCUS in the movement is to LIFT your body with the bent leg, by using the bent leg and straightening it – just like we do climbing up stairs. You can lean forward over the bent leg to help lift the back leg up. PRACTICE USING AS LITTLE of the straight leg foot as possible. From standing on the box, reverse the movement, to lower the straight leg back down to the ground. Again, use the bent leg side to do the work.
PROGRESSION – start with a height of box that lets you use JUST your bent leg to stand up, where the straight leg is just being used for balance.
go sideways – Cossack or Archer Squats
Bulgarian Split Squat
Outline
Split Squats are a challenging variant which use just one leg for power.
Movement Description
Find a sturdy box or chair. Rest the leg you aren’t using on the object. Kneel downwards on your other leg keeping your body fairly straight until your knees are at a 45 degree angle.
KJ’s
These moves are named for a buddy who created them as an alternate to the popular single leg squat known as a pistol. Effectively, these are squats, where one foot goes out front, and most of the work is done by the back leg
Box Pistol Squat
Towards a one legged squat (pistol) you can start standing on a box and ONLY work on the LOWERING part of the movement (the negative) and use your outstretched leg to help you stand up again
Next, you guessed it use the box to let you work the full pistol movement – both up and down – but use the box height to let you progress how far out you get that non-loaded leg. The goal is to get to right out in front of you.
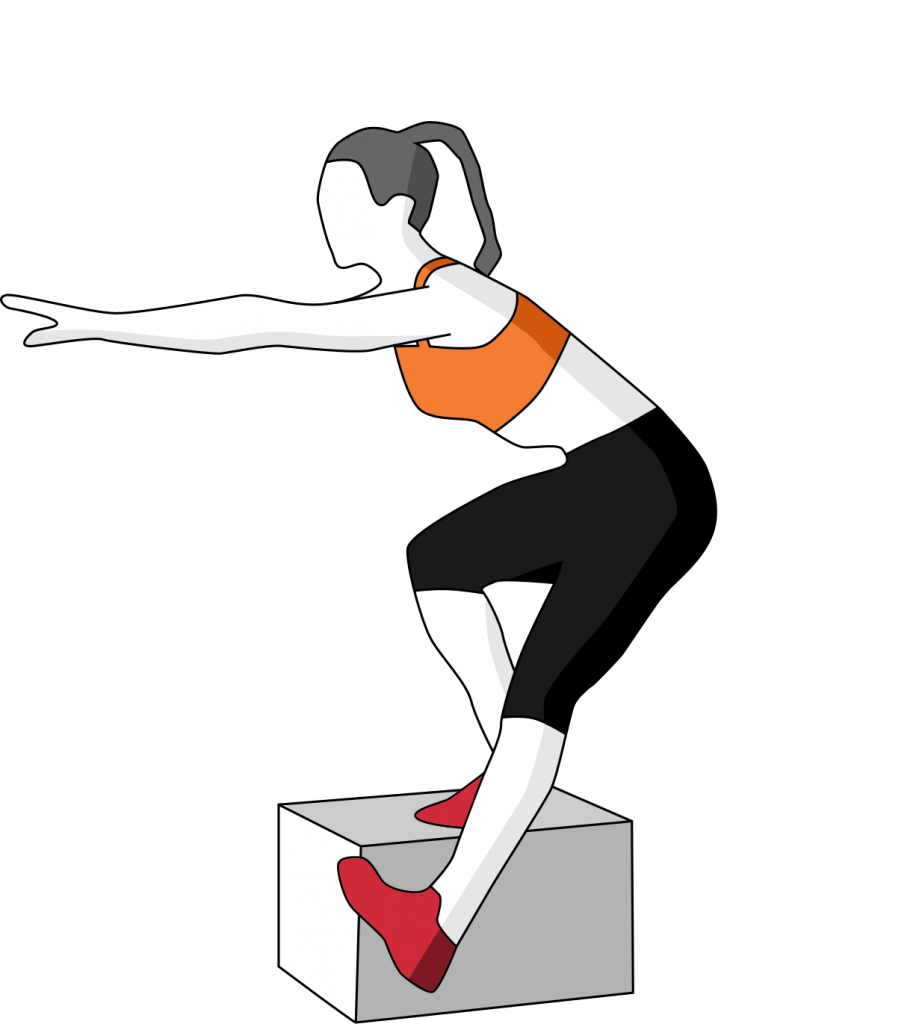
The full pistol is standing and lowering with leg right out. And if you get really into it – you can add load.
Here’s an example of progressing this movement
And Beyond – something i started working on some years ago with a 24kg kettlebell. Strength is a skill.
Hinge Progressions
Hinges are our final movement type, and mainly focus on lower body muscle groups, but occasionally some upper muscle groups as well. The movement changes can be quite subtle between progressions – so you’ll need to focus on technique to ensure you’re working the right muscle groups.
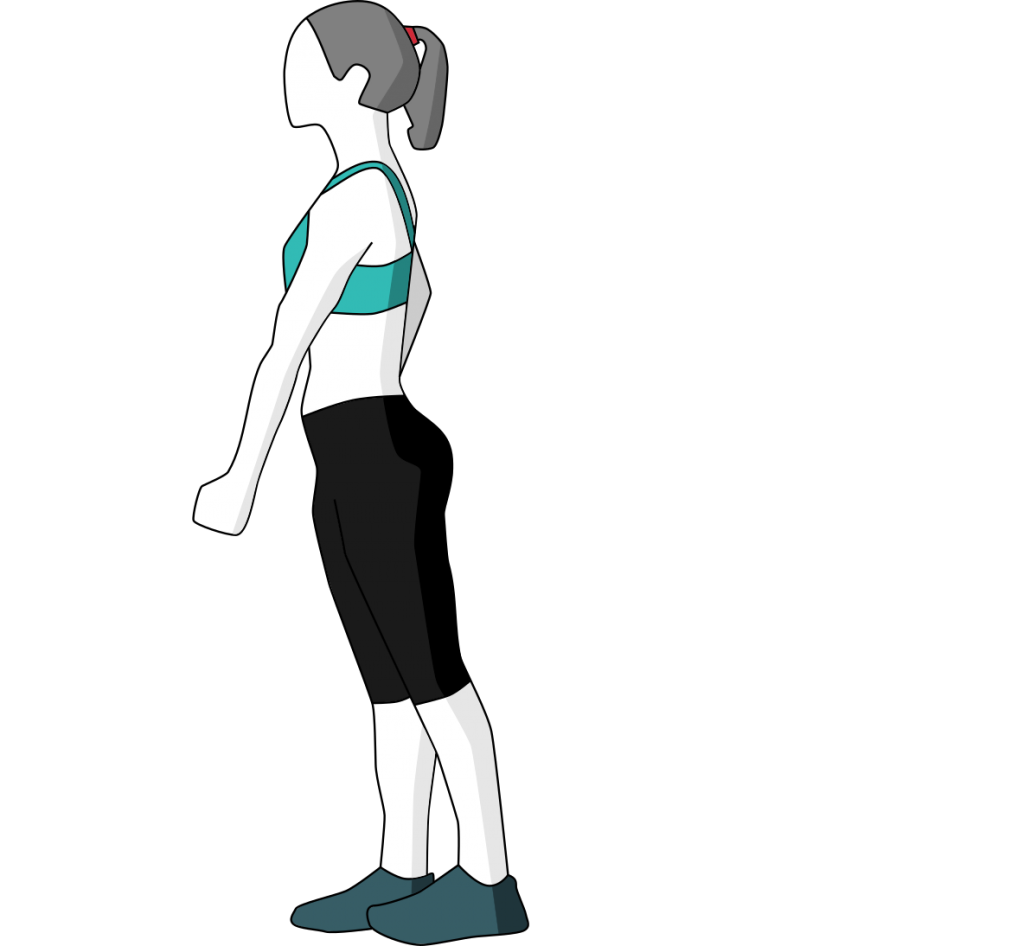
Wall RDL Prep
This drill is basically stand away from a wall, and reach back to touch it with your butt, then stand up straight – where you use your legs as much as possible to manage the load. That is avoid falling towards the wall, or pushing with your butt to throw yourself forward from the wall.
Keep your knees at your ankles – this helps work the right muscles.
Glute Raise
The next move to practice a two-footed hinge, is the glute bridge. The bridge is like the top part of the pull, like lifting a load off the ground. The idea – when standing – like in the wall RDL – is to straighten up, by pushing the hips foreward.
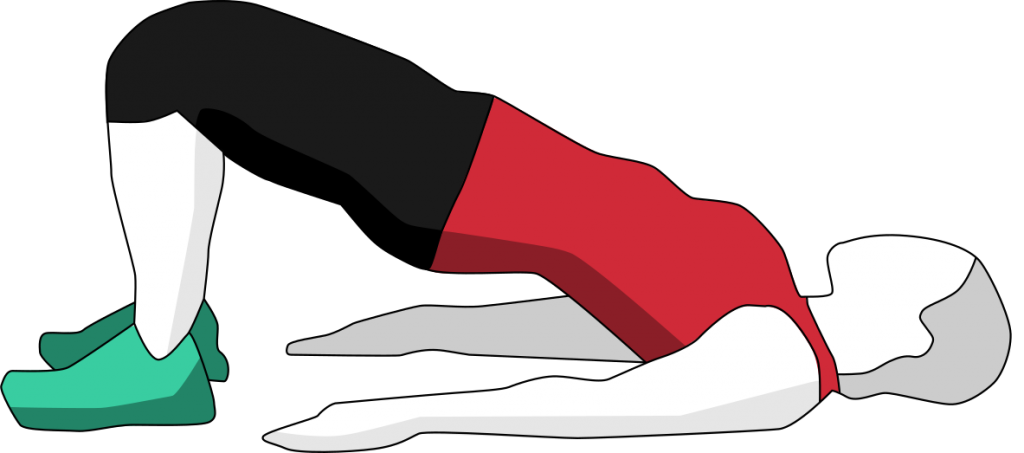
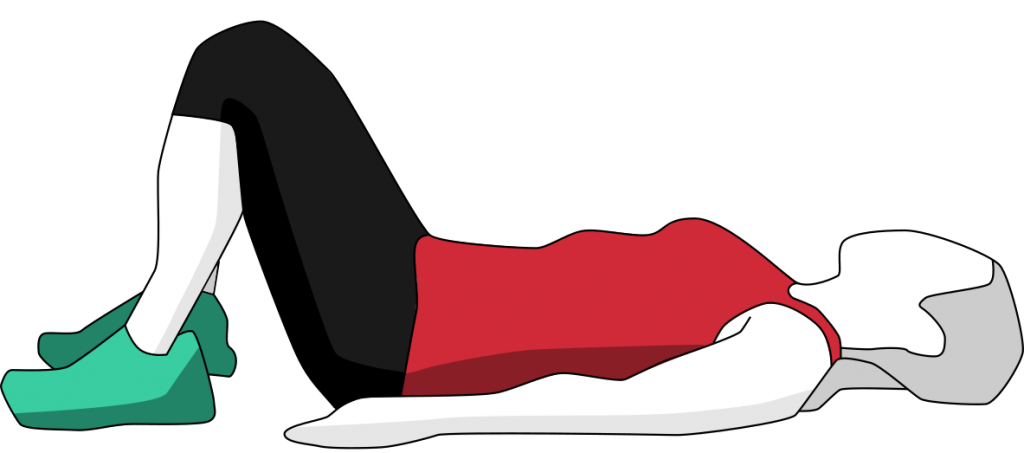
Short Bridge

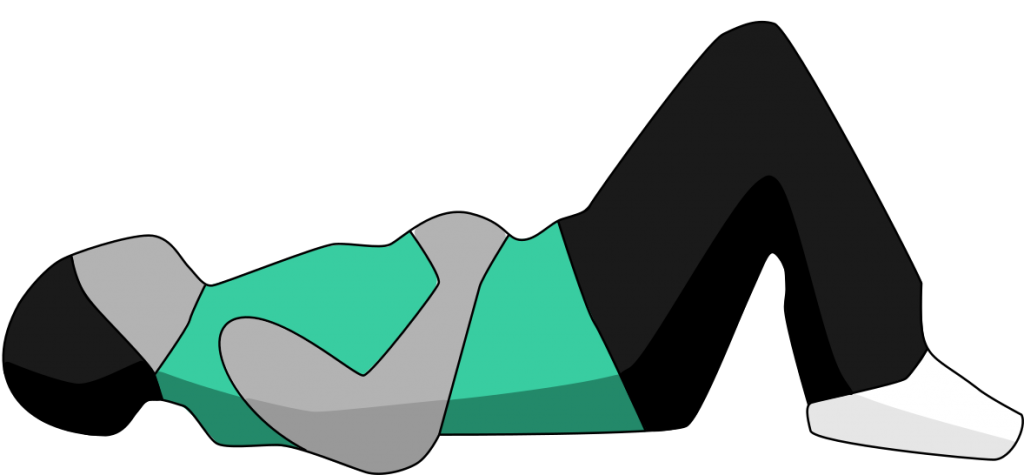
You’ll notice that you can change the challenge by changing the hand position.
At the top of the movement SQUEEZE your butt.
Isolateral Hinges
We’re going to look at a few examples of how to do hinges by alternating legs.
Single Leg Pike Lift
Movement Description
Sit on the floor in an upright position, legs fully extended, stabilising your body with both hands on the floor either side. Keeping your leg as straight as possible, raise one upwards as far as you can, pause and squeeze your thigh at the top, then bring down again to rest. Endeavor NOT to let the leg drop, but to control that lowering.
Increase Challenge: lift both legs.
Wall RDLs – no weights
Single Leg Romanian Deadlift
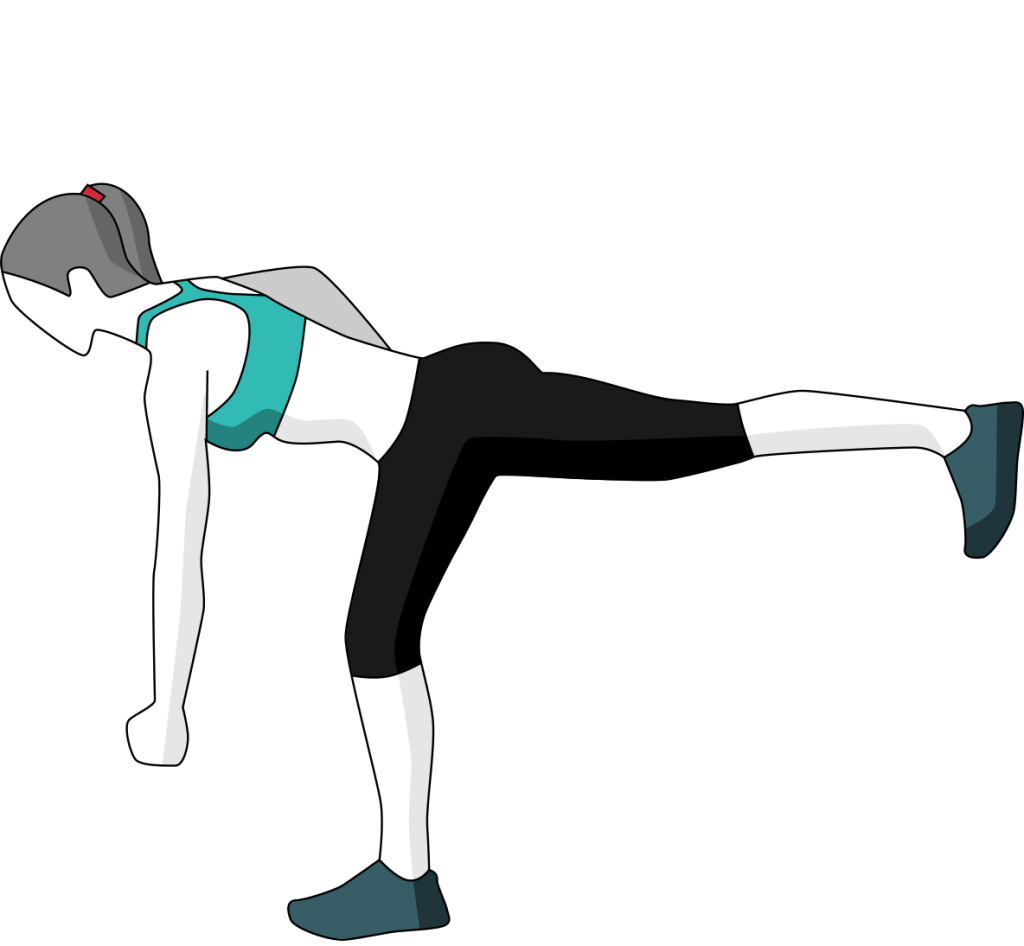
Movement Description
Stand upright, facing forwards. Bring one leg backwards as you pivot your body forwards until almost facing straight down, slightly bending your other leg.
Progressions: make this less of a balance challenge by placing a chair in front of you to assist with the movement stability – use it not for load, but just balance. Explore using your hands and arms positions – out in front, at your sides, behind your head – to see how this affect load.
Single leg Glute Bridge
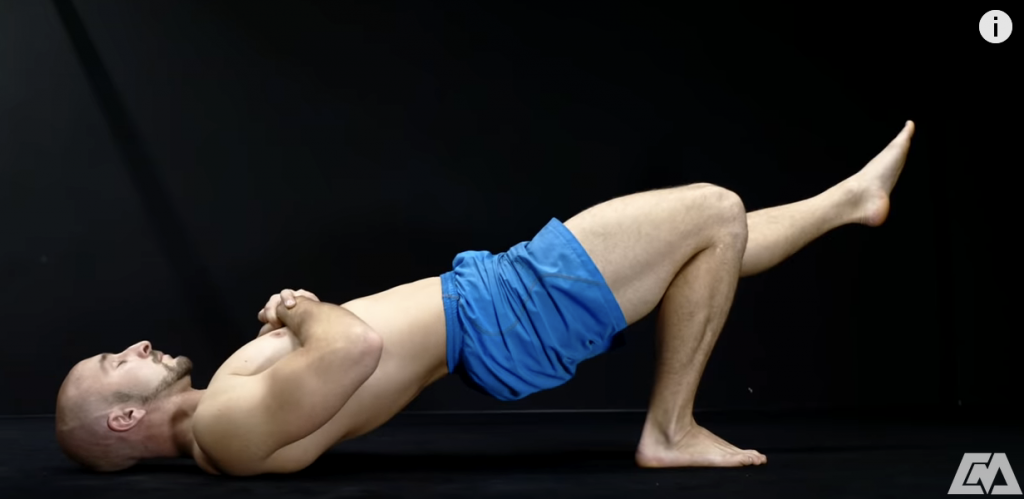
Where you position your pressing foot will also add challenge to the movement.